After trying very different IDE and many Eclipse IDE flawors, this is the best configuration I have found, and all the components are free.
First of all we need to download Eclipse Classic from the Eclipse website.
One of the first things we need to do is to change eclipse.ini, we will make it start faster and increase the memory limit
1--launcher.XXMaxPermSize
2256m
3-vm
4/usr/bin/java
5-vmargs
6-Xms40m
7-Xmx1024m
The path to Java VM depends on your installation and system, in windows you must search for “javaw.exe”. Setting the path to Java VM makes that Eclipse stops searching for the Java VM every start, which makes the start faster.
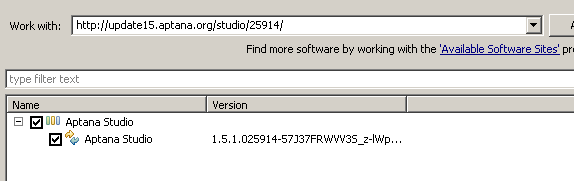
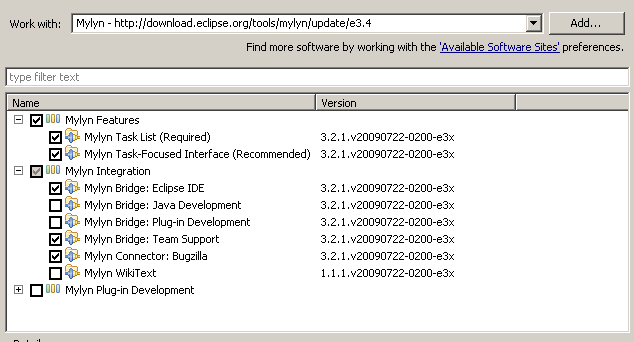
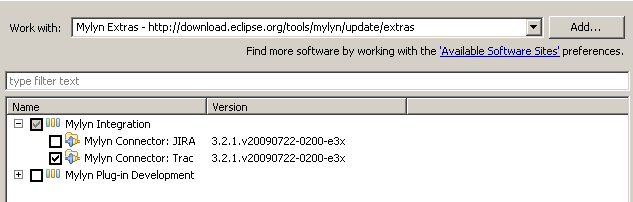
Now we can start installing the required Plugins. In “Help->Install New Software…” we will add the following Update Sites.
-
Aptana – http://update15.aptana.org/studio/25914/
-
Mylyn – http://download.eclipse.org/tools/mylyn/update/e3.4
-
Mylyn Extras – http://download.eclipse.org/tools/mylyn/update/extras
-
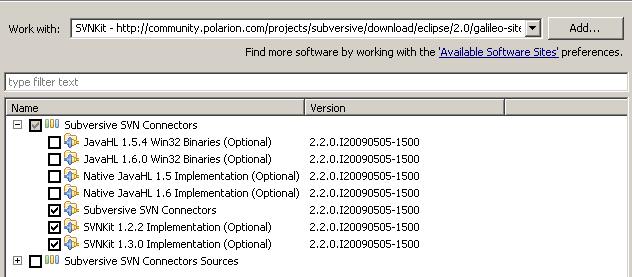
SVNKit – http://community.polarion.com/projects/subversive/download/eclipse/2.0/galileo-site/
-
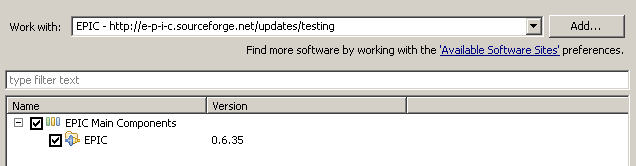
EPIC (Perl) – http://e-p-i-c.sourceforge.net/updates/testing optional, only if you need Perl
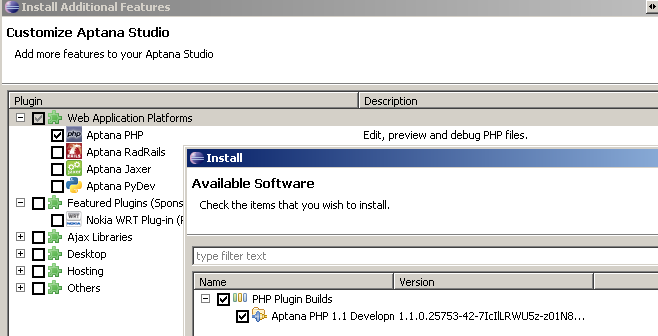
You have noticed that at each start a Window Asking for Installing Addiontal Features. Now that we can start installing this features. For me the most important are:
-
Aptana PHP
-
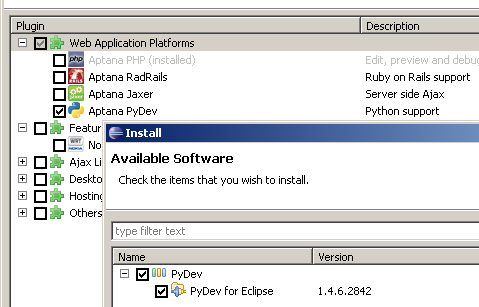
Aptana PyDev optional, only if you need Python
-
Ajax Libraries You can select all or just the one you need

After installing all needed plugins we can start with the configuration.
-
General\Workspace
- Text file encoding -> UTF-8
- New text file line delimiter -> Unix
-
General\Editors\Text Editors
- Displayed tab width -> 4
- Insert spaces for tabs -> True
- Show line number -> True
- Show print margin -> True
- Print margin column -> 80
-
General\Keys
- Show Whitespace Characters (Text Editing) -> Binding: Ctrl+Alt+Space -> When: Editing Text
-
Aptana\Editors
- Formattings -> Insert selected proposal with ‘Tab’ key as well as ‘Enter’ key -> True
- Tab Insertion -> Use spaces (current width is 4)
-
Aptana\Editors\PHP
- Create project file in new PHP project -> False
-
Aptana\Editors\PHP\Formatting
- Edit… ->
- Profile Name -> ZendStandards
- Control Statemets ->
- Insert new line before ‘else’ in an ‘if’ statement -> False
- Insert new line before ‘catch’ in an ‘try’ statement -> False
- Insert new line before ‘while’ in an ‘do’ statement -> False
- ‘if else’ – Keep ‘then’ statement on same line -> False
- Braces ->
- Method declaration -> Next line
- Blocks -> Same line
- Blocks in case statement -> Same line
- ‘switch’ statement -> Same line
- Edit… ->
-
Install/Update\Automatic Updates
- Automatically find new updates and notify me -> True
-
Team\SVN – SVN Client
- SVN Client -> SVN Kit
- SVN Client -> Use SVN Merge View -> True
-
Team\SVN\Automatic Properties
- Add: * -> svn:keywords=Id
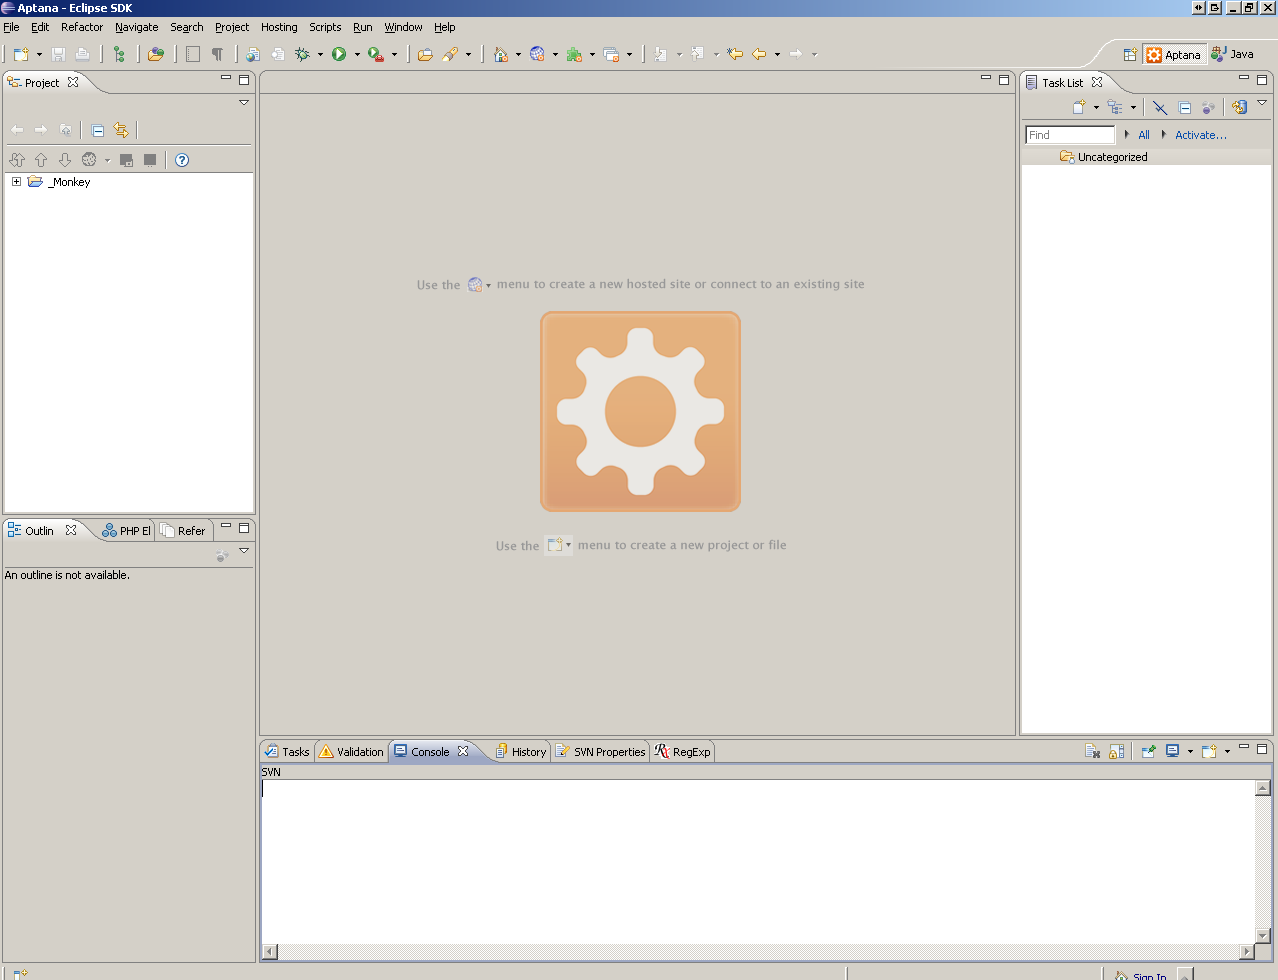
I use the Aptana Perspective with this views:
- Right Top
- Aptana Standard Views\Project
- Right Bottom
- General\Outline
- Aptana Standard Views\PHP Elements Views
- Aptana Standard Views\References
- Bottom
- General\Tasks
- Aptana Standard Views\Validation
- General\Console
- Team\History
- Team\SVN Properties
- EPIC\RegExp only if you installed EPIC
- Left
- Tasks\Task List
I like that the Oultine is automatically expanded, so that I have an overview of the file at every moment, but Aptana does not autoexpand the Outline. I use the following workaround:
- Create a new General Project called “_Monkey”
- Create a folder called scripts
- Create a javascript file called autoExpandOutline.js with the following content
|
|
Each new project that you create must use this project as reference, and now every time you open a file the Outline will be expanded automatically when you enter into the Editor